[Android-NDK] Creating shared library and using th...
In this post I’m going to show how to build shared library for android and using them. I’m using Ubuntu 16.04 LTS running inside a VM and Android Studio 3.2.1 running on windows 10. Step1: Setting up the environment Get Android NDK (https://developer.android.com/ndk/downloads). At the time of writing this post I’m using...
Logstash JSON filter to detect events
I wanted to filter out JSON encoded data coming from OSSEC client to logstash and then forward the parsed JSON to clients connected over websocket. This filter could be useful for detecting and sending alerts on occurrence of certain events, so I wrote a filter to parse only the JSON encoded data and discard any other data. ...
PIC32 and ILI9328 TouchScreen User Interface using...
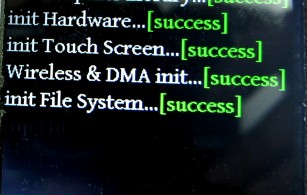
I developed this user interface (UI) using pic32, microchip GDD tool and microchip graphic library. I recorded the test in this video Related Blogs Related Blogs on PIC32 and ILI9328 TouchScreen User Interface using Microchip Graphic...
[Android-NDK] Creating shared library and using them in Android Oreo 8 and 8.1
![[Android-NDK] Creating shared library and using them in Android Oreo 8 and 8.1](https://pranavpareek.com/wp-content/themes/OnTheGo/timthumb.php?src=https://pranavpareek.com/wp-content/uploads/2019/04/900px-Android_Oreo_logo.svg_.png&h=164&w=164&zc=1)
In this post I’m going to show how to build shared library for android and using them. I’m using Ubuntu 16.04 LTS running inside a VM and Android Studio 3.2.1 running on windows 10.
Step1: Setting up the environment
- Get Android NDK (https://developer.android.com/ndk/downloads). At the time of writing this post I’m using android-ndk-r19c-linux-x86_64.zip
- Unizp the downloaded file and change directory into android-ndk-r19c. In this directory you should see a binary called “ndk-build”. We will use this binary to build the shared library.
JCov Tutorial | Coverage tool installation and simple use case
This tutorial is intended to help on how to build JCov and demonstrate a simple use case. This tutorial is for Ubuntu.
First Step in to install Java, in my case I have installed Java 8. Below are the command to install.
- sudo add-apt-repository ppa:openjdk-r/ppa
- sudo apt-get update
- sudo apt-get install openjdk-8-jdk
- sudo apt-get install openjdk-8-jre
Next step is to install apache ant and mercurial. Use the below commands to install:
- sudo apt-get install ant
- sudo apt-get install mercurial
Next download asm framework and JT Harness from the below url, these two are required to build JCov
Asm framework: wget http://download.forge.ow2.org/asm/asm-5.0.1-bin.zip
JT Harness: wget https://adopt-openjdk.ci.cloudbees.com/job/jtharness/lastSuccessfulBuild/artifact/jtharness-4.6.tar.gz
Extract asm-5.0.1-bin.zip and jtharness-4.6.tar.gz
In my setup Asm framework and JT Harness were downloaded and extracted at /home/test therefore my path for Asm framework is /home/test/asm-5.0.1/lib/all/asm-all-5.0.1.jar and for JT Harness /home/test/javatest/lib/javatest.jar
Next we need to clone JCov repo, use the below command to clone the repo
Now we have installed all the dependencies and ready to build JCov. Go to jcov/build directory and use the below commands. Don’t forget to replace your path for Asm framework and JT Harness in the command.
- ant clean
- ant -v -f build.xml -Dasmjar5=/home/test/asm-5.0.1/lib/all/asm-all-5.0.1.jar -Djavatestjar=/home/test/jtharness/lib/javatest.jar
This should build JCov, now lets test JCov with a sample use case, save the below code as Hello.java:
public class Hello {
public static void main(String[] argv) {
System.out.println(“Hello World”);
}
}
- Compile using java
javac Hello.java
- Instrument it
java -jar /home/test/jcov/JCOV_BUILD/jcov_3.0/jcov.jar Instr Hello.class
This step should generate template.xml file
- Run it
java -classpath .:/home/test/jcov/JCOV_BUILD/jcov_3.0/jcov_file_saver.jar Hello
Hello can be replace with the test case class. This step should generate result.xml
- Generate report
java -jar /home/test/jcov/JCOV_BUILD/jcov_3.0/jcov.jar RepGen -o report result.xml
Report should be created in report folder. Open it using the below command:
xdg-open report/index.html
In a similar way jar files can also be instrumented, in the instrumentation step just replace Hello.class file with the desired jar. If you want code highlighting available then you may need to pass -src flag during report generation. Below is an example:
java -jar /home/test/jcov/JCOV_BUILD/jcov_3.0/jcov.jar RepGen -src /home/test/workspace/Hello/src/ -o report result.xml
Read MoreLogstash JSON filter to detect events

I wanted to filter out JSON encoded data coming from OSSEC client to logstash and then forward the parsed JSON to clients connected over websocket. This filter could be useful for detecting and sending alerts on occurrence of certain events, so I wrote a filter to parse only the JSON encoded data and discard any other data.
Read MorePIC32 and ILI9328 TouchScreen User Interface using Microchip Graphic Library
I developed this user interface (UI) using pic32, microchip GDD tool and microchip graphic library.
I recorded the test in this video
Testing ILI9328 2.8″ TFT (Touch Screen) with PIC32MX795F512L
performed a simple test to interface ILI9328 2.8″ TFT (Touch Screen) with PIC32MX795F512L, later on I also wrote SPI based touchscreen driver for analog devices ADS7843. The main program checks for the data available pin and if touchscreen data is available it reads through SPI:
Testing Texas Instruments keyfob (CC2540) with custom android app
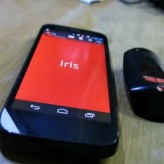
I build a test android app to communicate with Bluetooth Low Energy keyfob CC2541 kit from Texas Instruments.
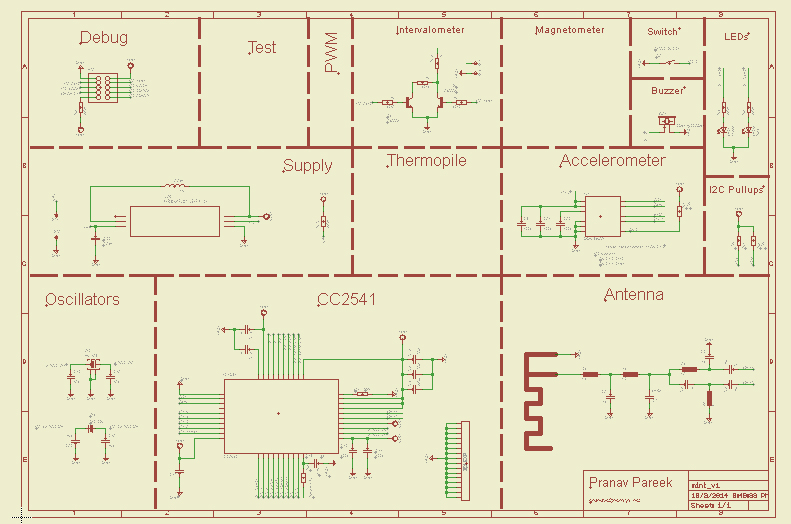
The end project was to design and develop a small size anti-theft/forget device and mobile phone application which can communicate with the device. This device can be placed inside wallet, briefcase, etc and on link loss the app can alert mobile phone user about lost item. And device should be able to run on a coin cell for duration of 8-12months.
During Schematic and PCB design I also added accelerometer and intervalometer for future application. Unfortunately the project never got off the ground but app and PCB was designed and developed.
inductor, capacitor and resistors used were 0201 size.
intervalometer for taking picture on phone using the device.
Read MoreMCP3208 A/D converter on Pinguino 18F2550
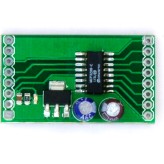
If you are working on Pinguino and want to use MPC3208 ADC for reading analog sensors then the following code will be helpful to you. This code is based on arduino example, I have ported it to pinguino 18F2550.
Read More
![[Android-NDK] Creating shared library and using them in Android Oreo 8 and 8.1](https://pranavpareek.com/wp-content/themes/OnTheGo/timthumb.php?src=https://pranavpareek.com/wp-content/uploads/2019/04/900px-Android_Oreo_logo.svg_.png&h=195&w=307&zc=1)

